How to Install A U-Part Wig for Beginners. Best U Part Wig Tutorials.
How to install a U-Part wig for beginners. No glue. No sewing. Just minimal leave out with amazing outcome.
Hey, guys welcome back to my channel. Today I am going to show you how to wear a side part bangs u-part wig. Super easy.
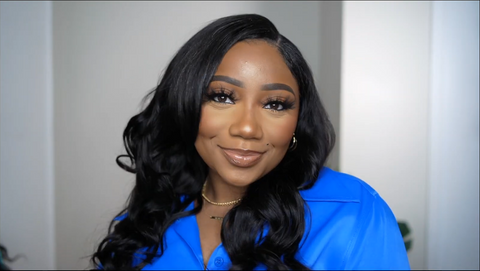
The final look of this unit.
Ywigs side part bang u-part wig
This unit looks so good, and I'm just so in love with my hair. I'm just so happy with the overall look of how my hair turned out. This is a side part u-part wig from Ywigs.com. I absolutely love the quality of this hair and the structure on the inside of this u-part wig.
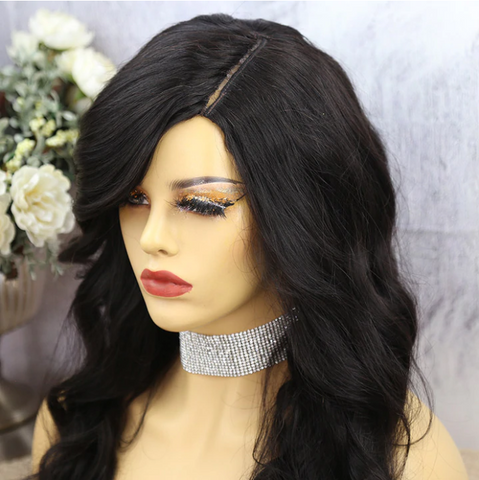
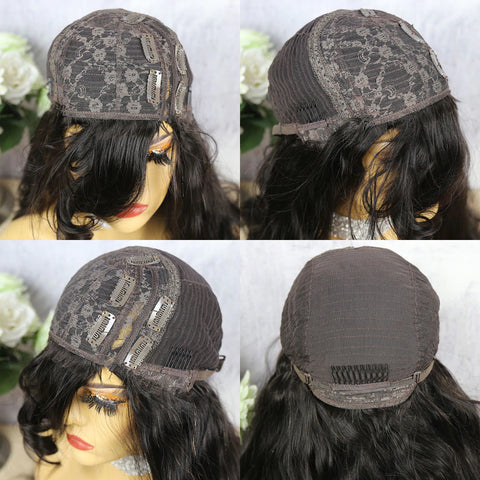
The structure on the inside of this u-part wig.
The Full Video Of How I Install This U Part Wig.
Now, Let's Back to The U-part Wig Installation.
First, Checking Placement.
When getting the wig, don't rush to icut the size of U. You should put it on your head and check the placement first, then get an idea of where your wig will sit for your leave out.
According to the size of your head (Make sure the wig fits the back of your head), determine the opening size of "U", which means how much hair you need to leave out. After that, you can start the regular installation steps.
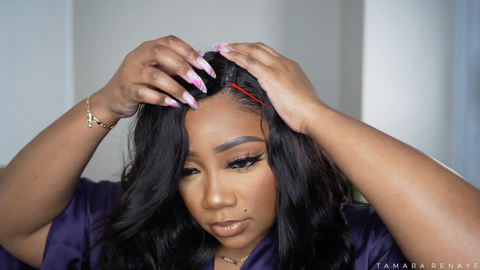
Second, braid your leave out.
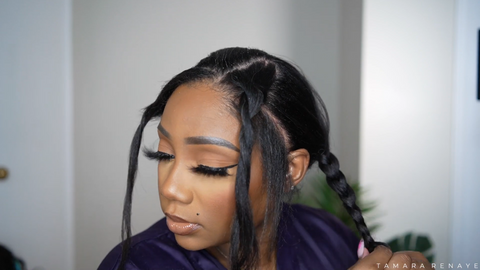
Third, install your wig with the combs inside of the wig.
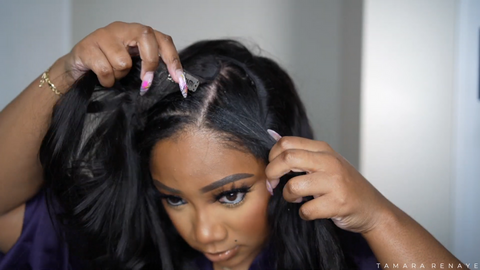
This unit Includes combs and adjustable straps in the back. So, there is no need to worry about the security of this unit.
Finally, Styling.
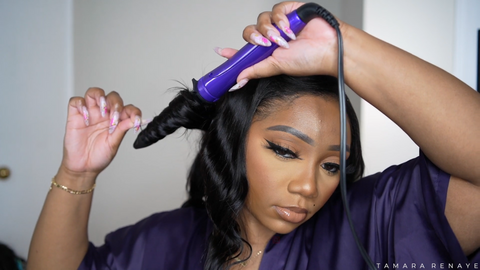
Now, you can use your curling wand to add any kind of curls that you want to.
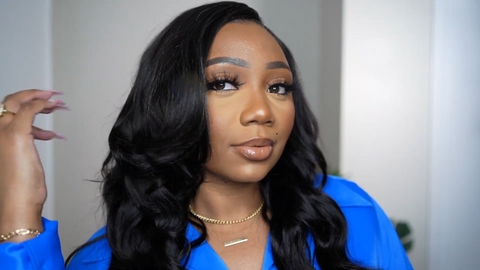
Final Look of This Unit. It is Beautiful.
I am so amazed like I couldn't tell you the last time I had a side part. I'm speechless, this looks so good. Wigs like this come in handy becauseit can take you from zero to a hundred real quick.
The link to the same product below.
https://www.ywigs.com/collections/u-part-wigs/products/side-part-bangs-body-wave-u-part-wig-au24


Laissez un commentaire